
4 MINUTE READ
Making impressive gift baskets is not a quick and easy task. It takes quite a bit of thought and preparation to assemble gift items and select the perfect container for your gift. Once you have that down, the next thing you need to think about is how to wrap them.
Are you looking for a guide on the best way to wrap gift baskets? We’ll share everything you need to know, including why you should wrap a basket, how to select the right material, and tips for sizing, cutting, tying, and decorating.
Why wrap a gift basket?
A gift container should be able to hold all of the chosen gift items in a way that they can be arranged attractively and held in place securely. This makes it easy to transport and present the gift to the recipient. In some cases, the container itself can serve this purpose all on its own.
In most cases, extra security is needed to make sure everything stays put. After all that work to assemble a beautiful gift basket, you want to make sure it stays intact and looks amazing! Wrapping a basket can prevent the contents from being unsettled, damaged, soiled, or lost in transport.
Additionally, wrapping can add a decorative element to the presentation. Depending on the material you choose, it can make a gift basket feel bigger and grander and help provide an element of surprise by shielding some of the contents from view.

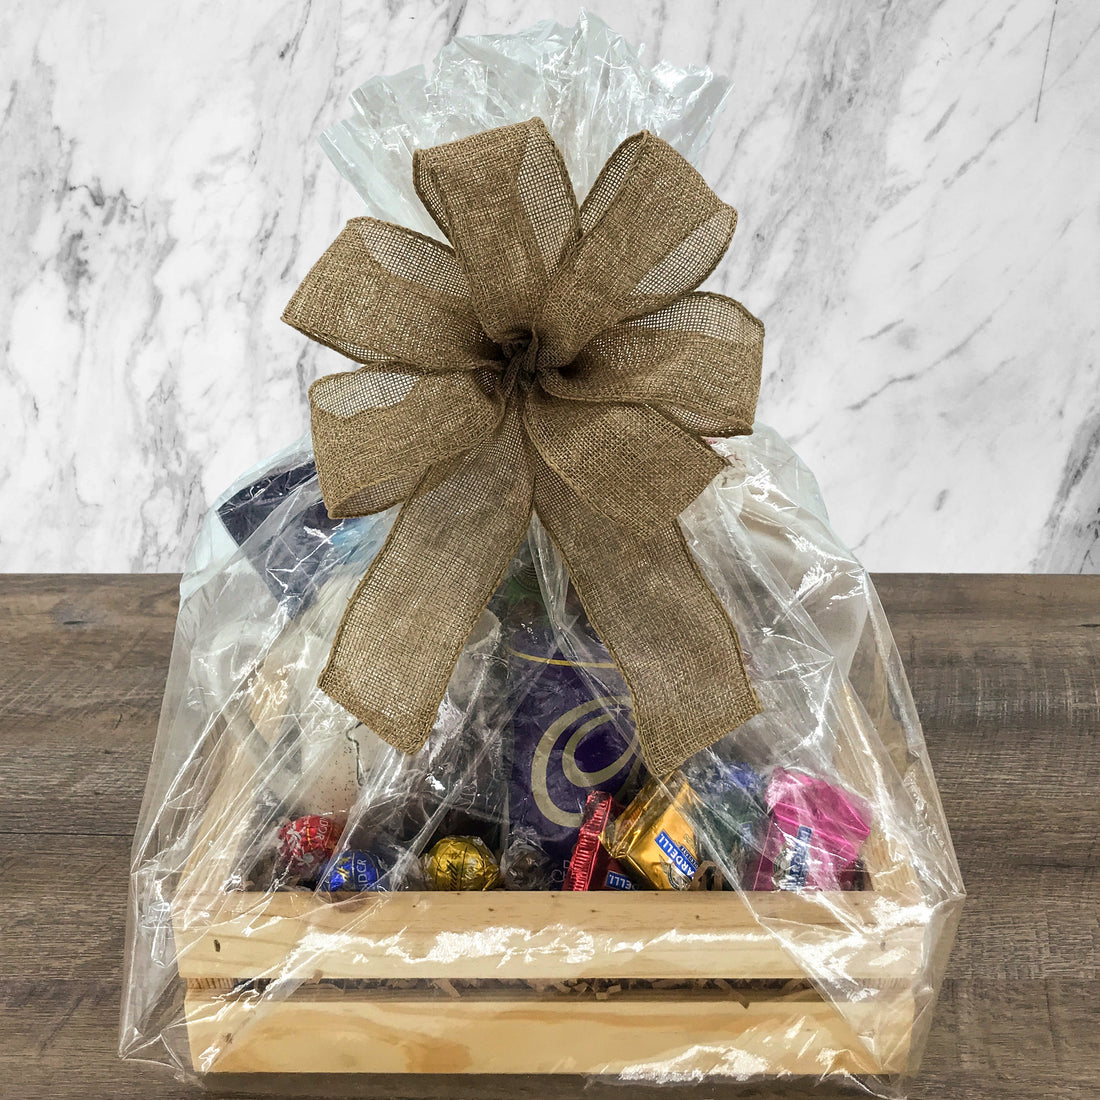
This collection is pictured in a 10-1/2 in x 8-9/16 in x 3-1/2 in small wooden crate by Carpenter Core.
Select the wrapping material
Several types of material can be used to wrap gift baskets, the most common of which is cellophane. Cellophane comes in many different styles and forms, including transparent, translucent, colored, and printed styles. Choose one that coordinates with your theme and content. Cellophane can often be purchased in rolls or pre-cut sheets. If you are making many gift baskets, rolls often provide a better value, while pre-cut sheets in a determined size will help save assembly time.
Other materials that can be used include gift-wrapping paper, shrink wrap, tulle, and other fabric materials.
When choosing your material, think about the type of presentation you would like to make. For example, do you want to keep the contents hidden, either fully or partially, until the big reveal? Choose a solid colored or printed material. Or, would you like to keep the material transparent to help the recipient see what they have been given without opening it? Classic, clear cellophane will work perfectly.
Size and cut the material
Once you have chosen the material you’d like to use, the next step is to measure and cut it. We will use cellophane as an example, but this process can be applied to other materials as well.
First, clear a workspace and unroll the cellophane. Place the gift basket in the center and gently pull the wrapping around the basket to measure how much material you will need to completely cover the basket. Then, add an extra 12 inches on each side to give yourself plenty of material to work with at the top.
When cutting your material to size, cut in smooth, straight lines to avoid unsightly jagged edges.
Tie and finish
Now that your material is sized and cut, lay it flat on your work surface. Place the basket in the center and pull the cellophane around it, gathering the edges together at the top. Don’t worry about getting the material perfectly smooth, it is meant to be a little crinkled and textured! Secure the material with a small elastic band or tie it with a thin ribbon.
Depending on the shape of your container, you may have a few loose pieces of cellophane that don’t reach the top. Simply secure these with a small piece of tape to make them look neat and help keep the right shape.
Next, add a decorative ribbon or bow over the elastic band. You may also choose to add other decorative elements at this time, such as tying a ribbon around the base of the container or attaching a tag to the top.
Lastly, trim any long edges of the cellophane to your liking.
This method can be used with all types of containers, from baskets and boxes to crates and bins. By changing up the container and using different types of material, you can create unique gift basket designs for all sorts of occasions.
Try it for yourself
Now that you know the why and how to wrap gift baskets, all that’s left is to try it for yourself! Wrapping a gift basket is an easy way to keep items safe and secure and add an extra embellishment to make your gift look even more impressive and beautiful.