
4 minute read
Are you looking to surprise everyone on your list with an impressive presentation? Do you have all your gifts ready but are unsure how to display them in a way that makes a wonderful-looking presentation? Learn four easy steps to arrange a gift basket that will impress anyone on your list.
1. Ensure you have every item you need.

The first step to arranging a gift basket is ensuring you have everything you need to start.
- Have all the gifts you want to include on hand. Aiming for an overarching theme can make this step more manageable and helps with the continuity of the final collection of gifts.
- Ensure you have a container big enough to hold all your gifts. Try to size it based on the number and size of items you would like to include. Something with more character will add to the perceived value of your collection.
- Have some filler, such as tissue, shred, or crinkle paper on hand to cushion and fill out the gift basket's appearance.
- It's not a bad idea to purchase some glue dots or have some scotch tape on hand to secure gifts and prevent shifting.
- Consider transparent or translucent cellophane wrap to help keep things in place and provide a more enjoyable unwrapping experience for the recipient.
- Although an understatement can impress the most, a bow can be the cherry on top if your container or wrap allows it.
2. Fill in the base of your chosen container.

The purpose of filling the base of your basket is threefold.
- Cushion your gifts.
- Raise them, so the sides of the container do not swallow them up.
- Make the gift basket more aesthetically pleasing.
It's helpful to add base fill material to the bottom of the container, especially if it has tall sides. The base fill can be anything from sheets of tissue to craft or even packing paper. Crumple the paper and place it inside the bottom of the container until it is 3/4th of its overall height.
The next step in preparing the bottom is to cover the base fill used above with something more decorative. We recommend you use something colorful such as shredded paper, crinkle paper, or excelsior.
3. Begin with taller items in the back.

Now you have your base ready; it is time to place your gifts. The first gifts you want to start with are the taller items. Do this by putting the taller things in the back. Doing this will ensure you get enough space to showcase the smaller items in front of the gift basket. By putting the taller items first, you provide anchorage for your smaller items.
If your items have labels, you want to ensure that the branding or labeling faces the front allowing the recipient to view the entire collection at a glance. If any have retail display hanger tabs, consider cutting or removing them for a little extra personalization.
When placing the items in the basket, create space by pushing the filler to the side. After placing the item, move the filler around to secure it in place. If some gifts do not stay in place, you can use a glue dot or piece of tape to secure them. Doing this is essential when dealing with glasses or bottles since you do not want the bottles colliding with other items and possibly even breaking.
Once you have the taller items out of the way, you can go ahead and then place your smaller items at any spot of your choice. However, we recommend you put them in front for maximum exposure.
Suppose your basket is starting to fill out, and you have other smaller items you want to add. In that case, you can go ahead and place them on top of any with a flat surface, such as products packaged in a box.
4. Use a cellophane wrap and tie it off with a bow.
Once you have all your items in the basket, it is time to wrap them up. Suppose your container allows the gifts to sit open on the side. In this case, we recommend you wrap the entire gift basket with transparent or translucent cellophane plastic wrap.
Advantages to cellophane wrap.
- Allows you to stack more in a smaller container
- Prevents spillage during transportation.
- Allows everyone to see the contents of the gift basket.
- Provides an enjoyable unwrapping experience.
Finish with a bow or ribbon to tie off the wrap and add a little extra pizzazz.
Viola! Your gift basket is ready to be delivered and impress your intended recipient. As you can see, arranging your gift basket doesn't have to be as stressful as you thought.

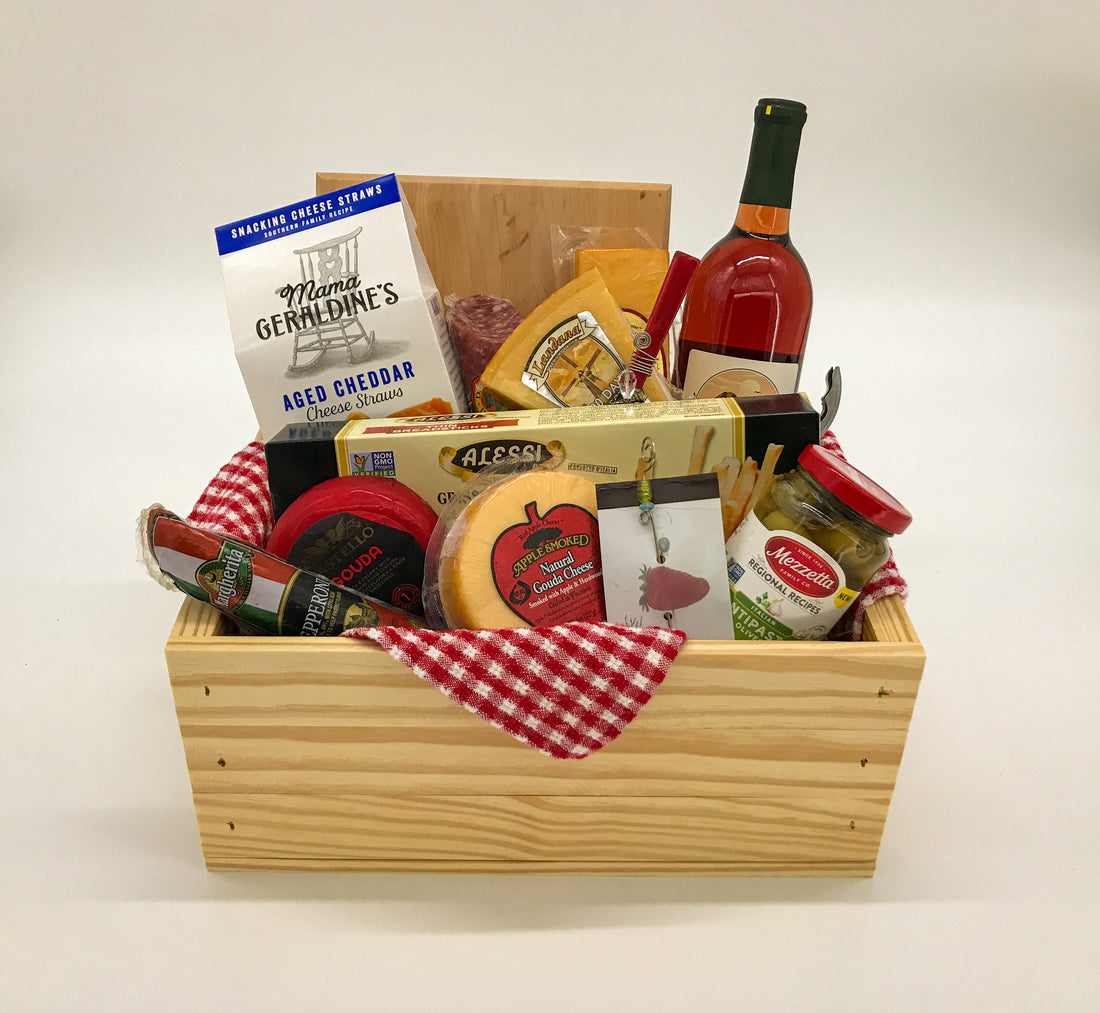
This collection is pictured in a 12 in x 9¾ in x 5¼ in wooden gift crate box by Carpenter Core.
Conclusion
There you have it, how to arrange a gift basket to impress. Ensure you have every item you need. Add base filler. Arrange your gifts in order. Add cellophane wrap and a ribbon or bow to bring it all together.
What other ideas do you have for arranging impressive gift baskets?